Dec 07, 2023
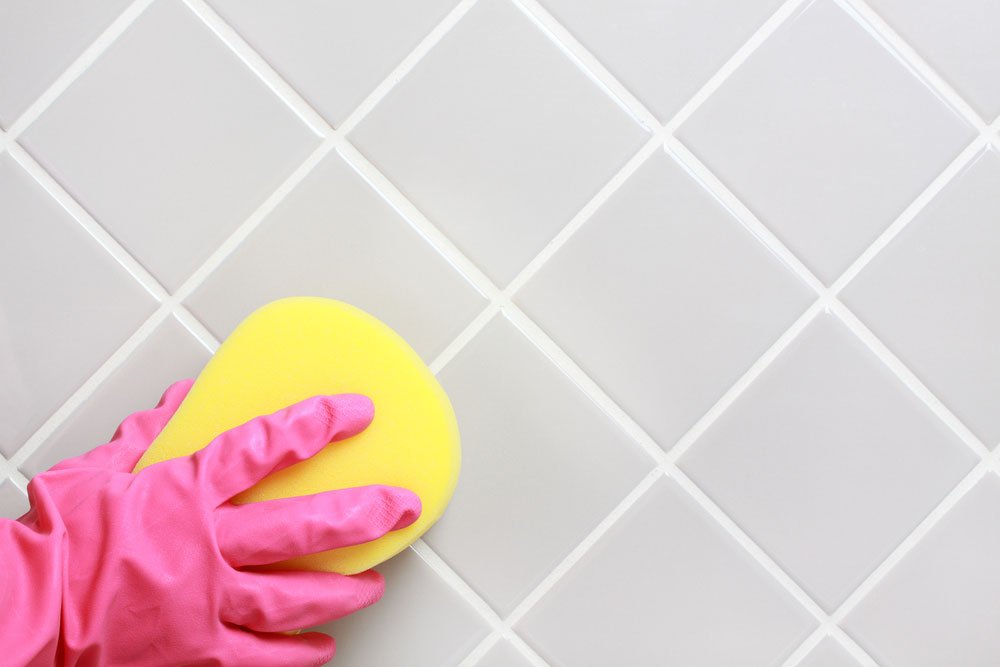
Tile and Grout Cleaning
Let's be real—tile grout can be the bane of a clean home's existence. You scrub, you rinse, you mop, but those pesky grout lines can still go from a crisp white to a dismal grey. And let's not even talk about those orange stains that look like they came out of a horror film. But fret not! We've got you covered with comprehensive, industry-backed insights to tackle this problem head-on.
The Basics Of Tile Grout & Why It Gets Dirty
Tile grout is essentially a mixture of water, cement and sand. It fills the gaps between your tiles and holds them together. While it may seem like a minor part of your home, it’s a dirt magnet due to its porous nature. Dirt, grease and grime from daily foot traffic, spills and even mildew from bathrooms can all find their way into those grout lines. Add a touch of moisture into the mix, and you've got a breeding ground for bacteria and mould.
Common Household Products For Grout Cleaning
Sure, there's an arsenal of specialised grout cleaners out there, but you’d be surprised at how effective some household items can be. Let's raid your pantry:
1. Baking Soda and Vinegar: This dynamic duo can tackle most stains. Make a paste out of baking soda and water, apply it to the grout, then spray vinegar over it. The effervescence helps lift dirt, making it easier to scrub away.
2. Hydrogen Peroxide: For tougher stains, especially in bathrooms, hydrogen peroxide can be your best friend. Apply it directly or mix it with baking soda to form a paste.
3. Lemon Juice: Effective for lighter
stains and a great bleaching agent. Bonus: Your house will smell citrusy fresh!
A Step-by-Step Guide To Effective Grout Cleaning
Step 1: Pre-cleaning Preparation
Remove any loose dirt or debris from the tile surface with a vacuum or a sweep. This ensures that you won’t be grinding any surface dirt into the grout lines.
Step 2: Choose Your Cleaner
Opt for either a specialised cleaner or a household item based on the nature of the stain and location.
Step 3: Application
Apply the cleaner using a brush. A toothbrush or a grout brush works wonders for this. Make sure to scrub in circular motions and along the grout lines for effective cleaning.
Step 4: Wait And Rinse
Allow the cleaner to sit for 5-10 minutes. Then rinse thoroughly, making sure no residue is left behind.
Step 5: Drying
Wipe the area with a clean towel and allow it to air dry. For bathroom tiles, it's advisable to turn on the exhaust fan to remove moisture.
Tips For Maintaining A Spotless Grout Over Time
1. Regular Cleaning: Weekly cleaning can go a long way in maintaining the lustre of your grout.
2. Sealing the Grout: A high-quality grout sealer can make your grout less porous and more stain-resistant.
3. Prompt Attention: Don’t let stains sit for long. The sooner you attend to them, the easier they are to remove.
When All Else Fails, Call In The Experts
While DIY methods can work wonders for regular maintenance, sometimes you need that professional touch to truly reclaim the beauty of your tiles and grout. If you're struggling with stubborn stains and are on the lookout for a reliable floor tile cleaner, look no further.
The Tile & Stone Specialists is your go-to professional for all things tile and grout on the Sunshine Coast. With our deep industry knowledge and state-of-the-art equipment, you'll have grout so clean, you could eat off it (though we don’t recommend you do that). Call us on 0413 706 000 today for a quote and reclaim the beauty of your tiles!